
Fen is a video add-on within the Tikipeter’s Repository that brings you movies, TV Shows, Kids, Music, and more. Also, it allows you to get access to Easynews web. It comes with a great interface with tons of quality links. And it is one of the best Kodi addons used by many. Fen addon is now compatible with Kodi 19 Matrix. If you still don’t know the procedure to install the Fen addon on your Kodi compatible devices including Firestick, this article will help you. This article comes with a step-by-step procedure along with screenshots so you can understand easily.
Important Message
Your IP is Exposed: [display_ip]. Streaming your favorite content online exposes your IP to Governments and ISPs, which they use to track your identity and activity online. It is recommended to use a VPN to safeguard your privacy and enhance your privacy online.
Of all the VPNs in the market, NordVPN is the Best VPN Service for Firestick. Luckily, NordVPN has launched their Exclusive Christmas Deal at 69% off + 3 Months Extra. Get the best of NordVPN's online security package to mask your identity while streaming copyrighted and geo-restricted content.
With NordVPN, you can achieve high streaming and downloading speeds, neglect ISP throttling, block web trackers, etc. Besides keeping your identity anonymous, NordVPN supports generating and storing strong passwords, protecting files in an encrypted cloud, split tunneling, smart DNS, and more.

Features of Fen Kodi Addon
These are some of the highlights of the Fen addon.
- Quickly access your Kodi library.
- It offers fully free user support from Fen’s scrapers and ResolveURL.
- It supports Cached torrent, Easynews, Furk, and Download.
- You can search by Trakt, Easynews, Furk or by people.
- It is a multi-source addon.
Prerequisite to Install Fen Addon on Kodi
Note: Since Fen addon is a third-party addon on Kodi we have to first turn on the unknown sources on Kodi. Follow the steps to turn on unknown sources on Kodi.
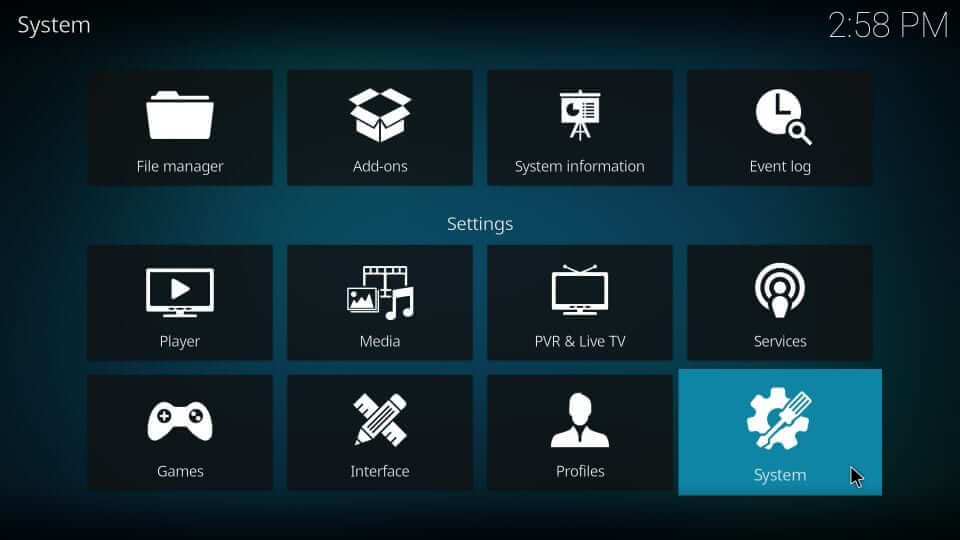
1. Turn on Kodi and click on Settings from the home screen.

2. In that select System option.
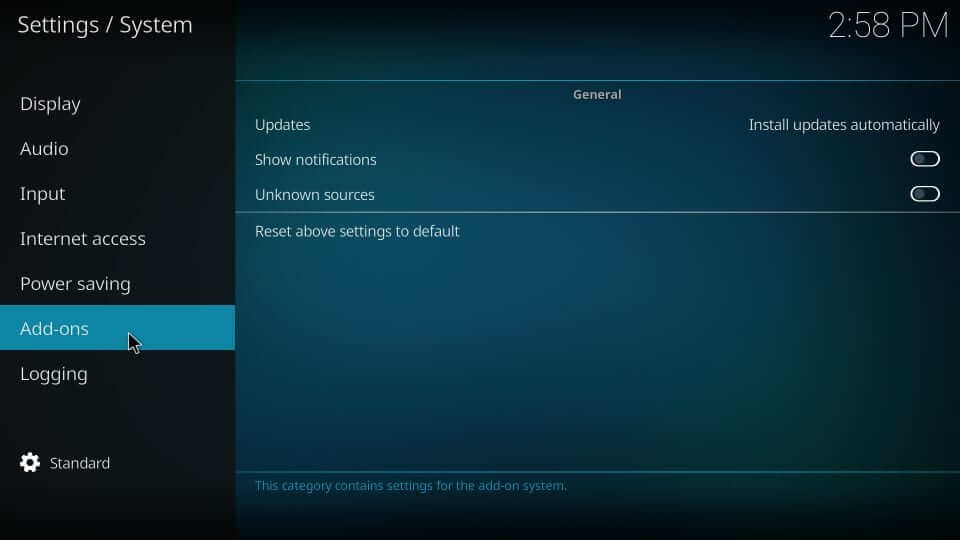
3. Now you will find an option called add-ons on the left side, click on it.
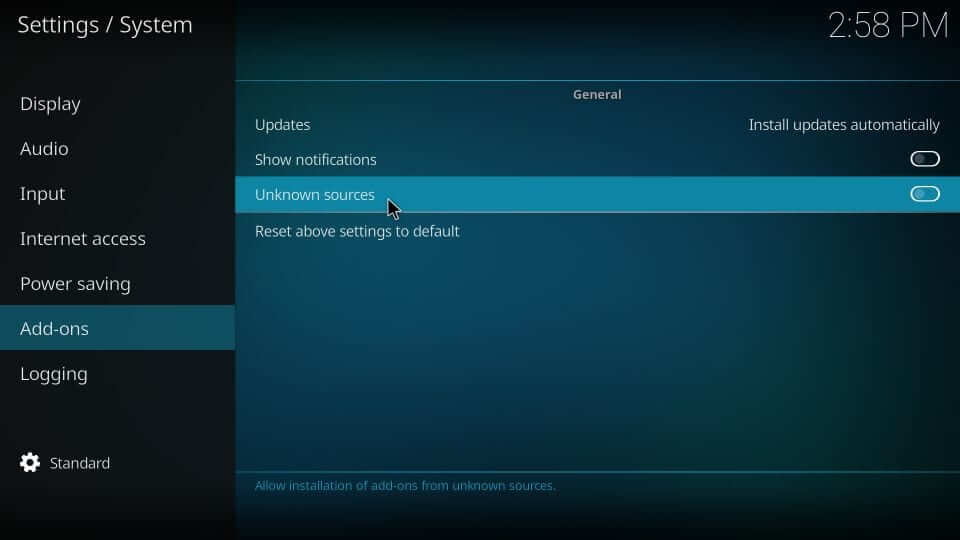
4. On the next screen, turn on the Unknown Sources toggle on the right side.
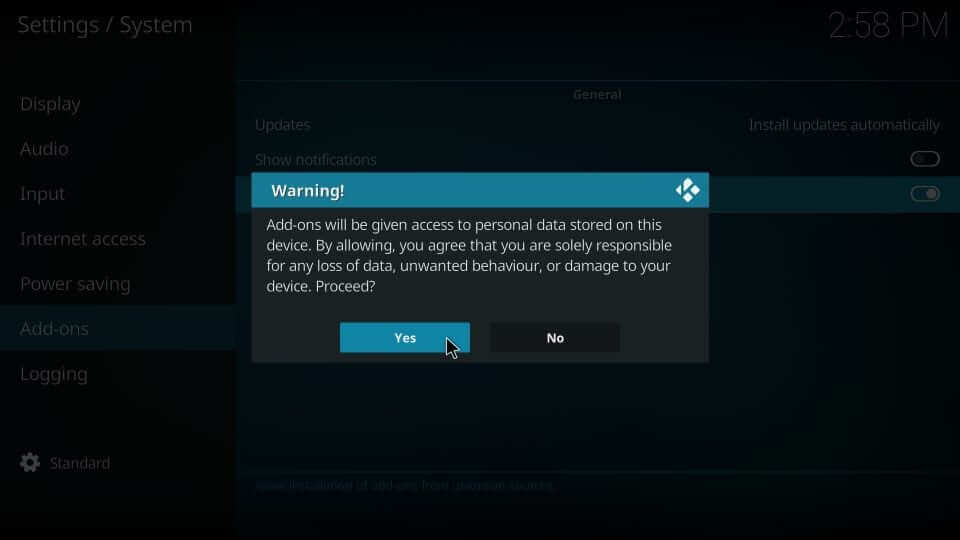
5. Next click on Yes for confirmation to turn on Unknown Sources.
Related: How to Install cCloud TV Kodi Addon 2021
Steps to Install Fen Addon on Kodi
1. Now go back to your Kodi home screen and click on Settings once again.

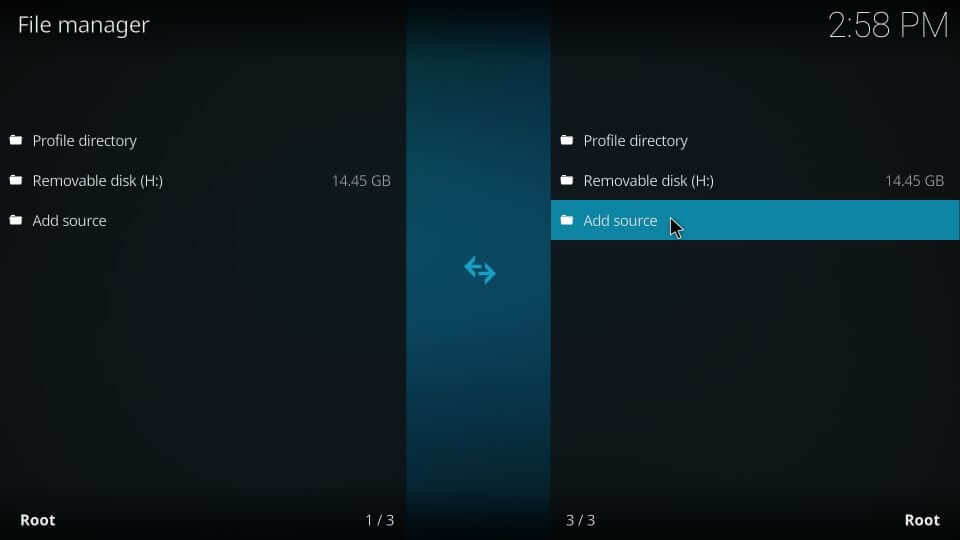
2. In that click on the option called File Manager.

3. On the next screen click on Add Source.
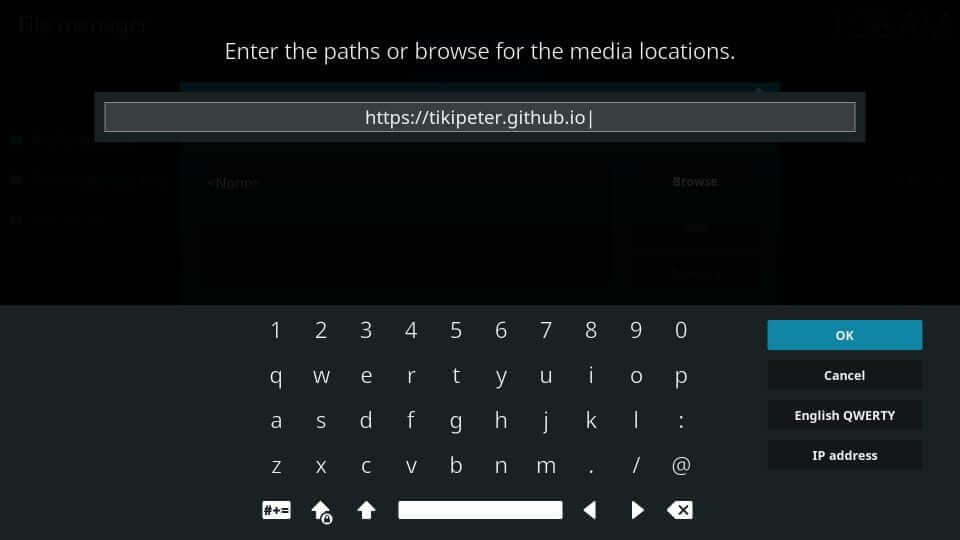
4. Now you will get a popup window. In that, you have to click on where you see <None>.
5.Then, on the next screen type the URL http://tikipeter.github.io from where the Fen Kodi addon will be downloaded. After typing it, click on Ok.
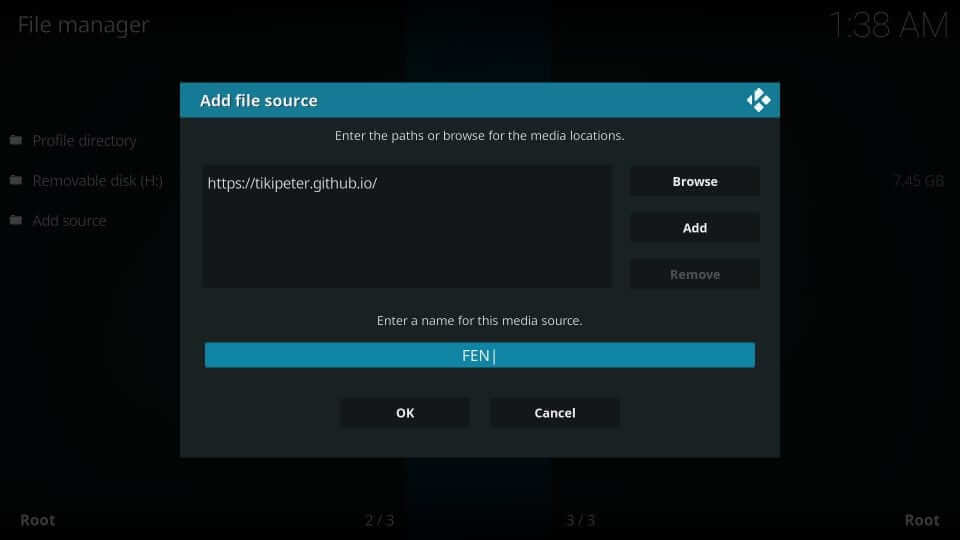
6. Next click on Enter a name for this media source and type the source name as you wish. Here we use Fen and finally click on Ok.
7. Now return back to the home screen and select Settings and click on Add-ons in that.
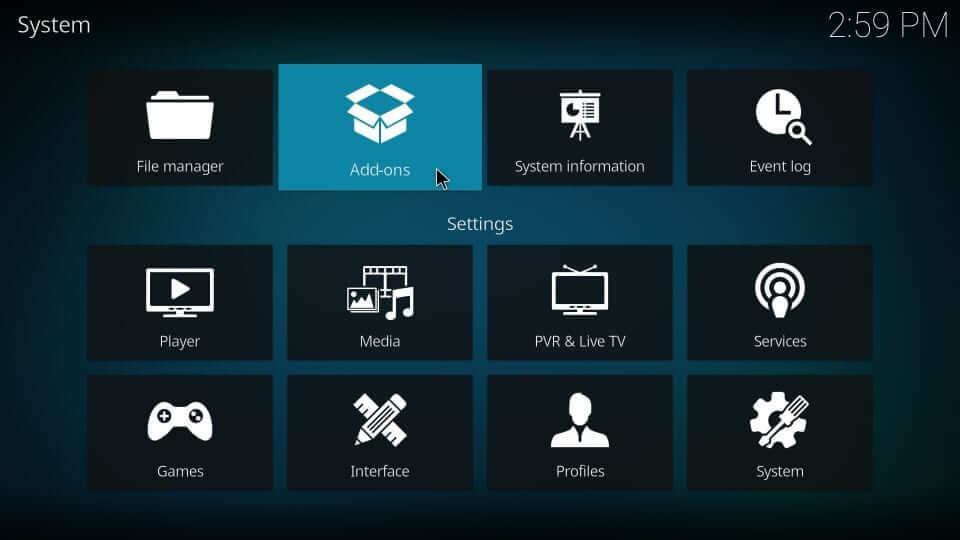
8. Then, click on the Addon Browser icon from the left corner of your screen.
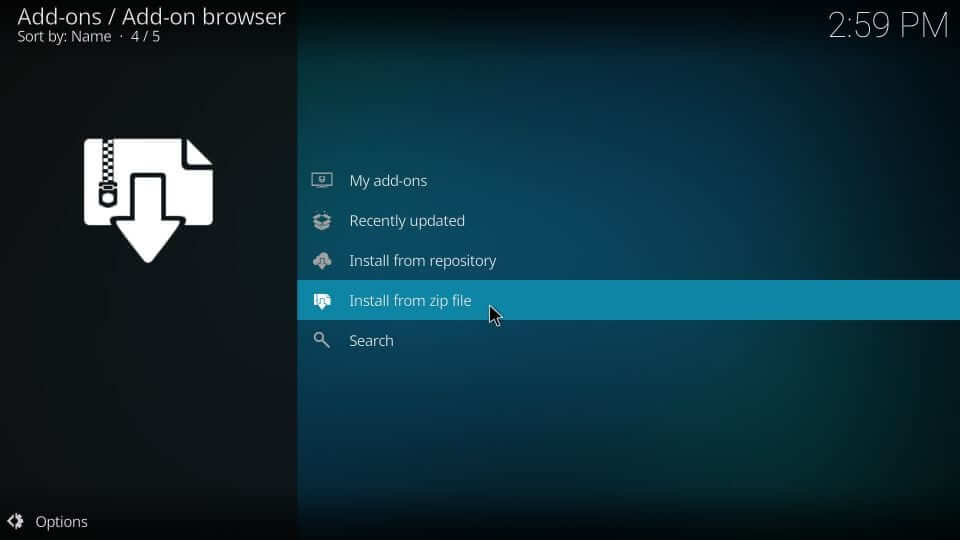
9. Next click on Install from Zip file.
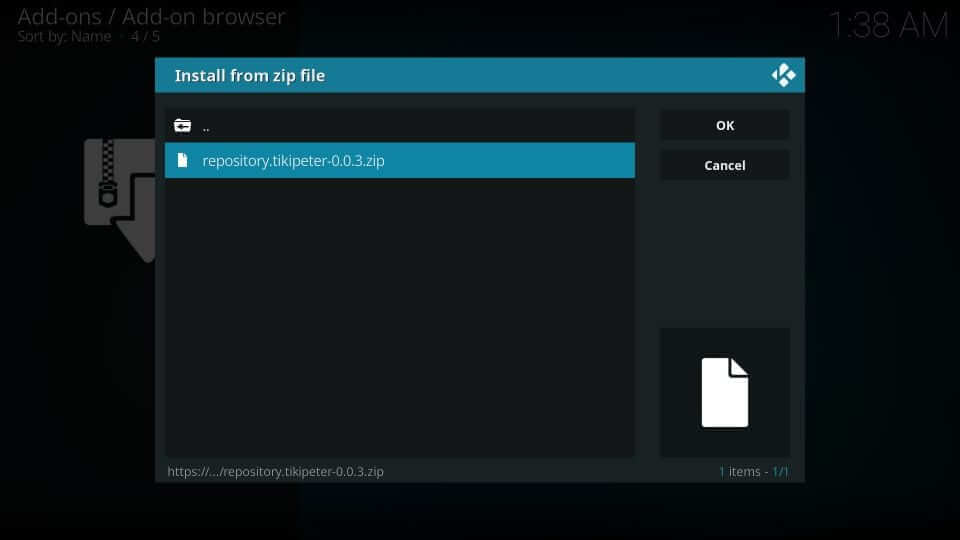
10. You will get a pop-up window in which you will have to find the source name you have entered. As we entered FEN, we have to click on it.

11. Next click on repository.tikipeter.x.x.zip and wait for Addon enabled notification.
12. In that click on Install from zip file.
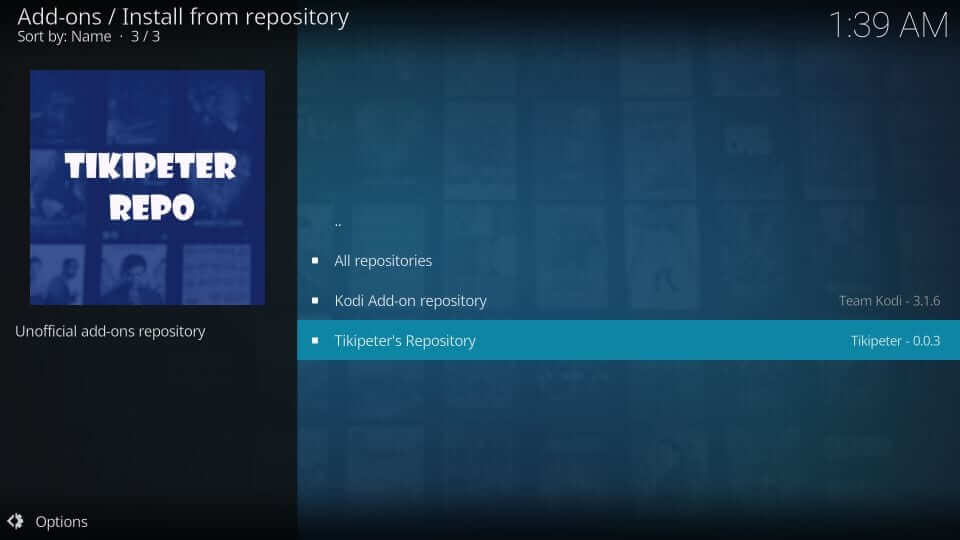
13. Next click on the Install from repository option.

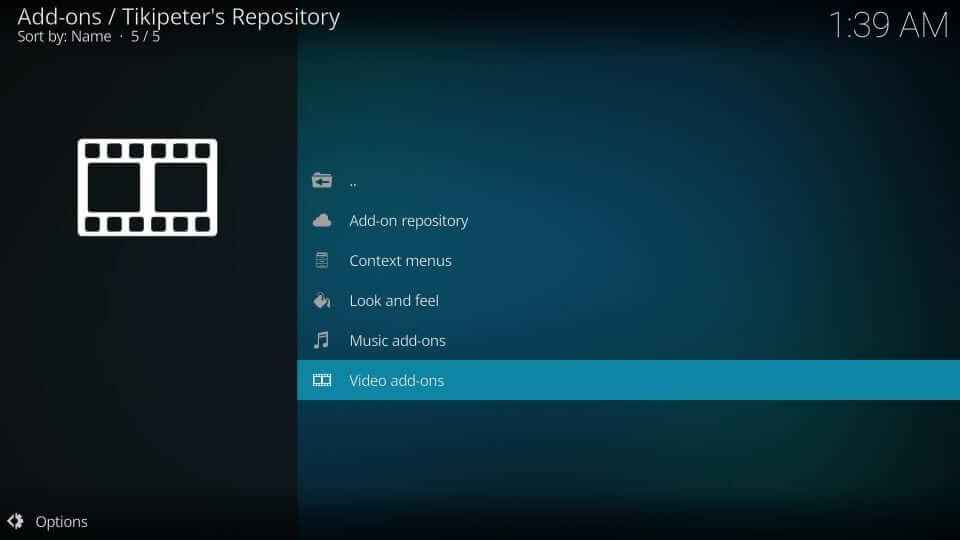
14. Now click on Tikipeter’s Repository that you have installed.
15. Next click on the option Video add-ons.
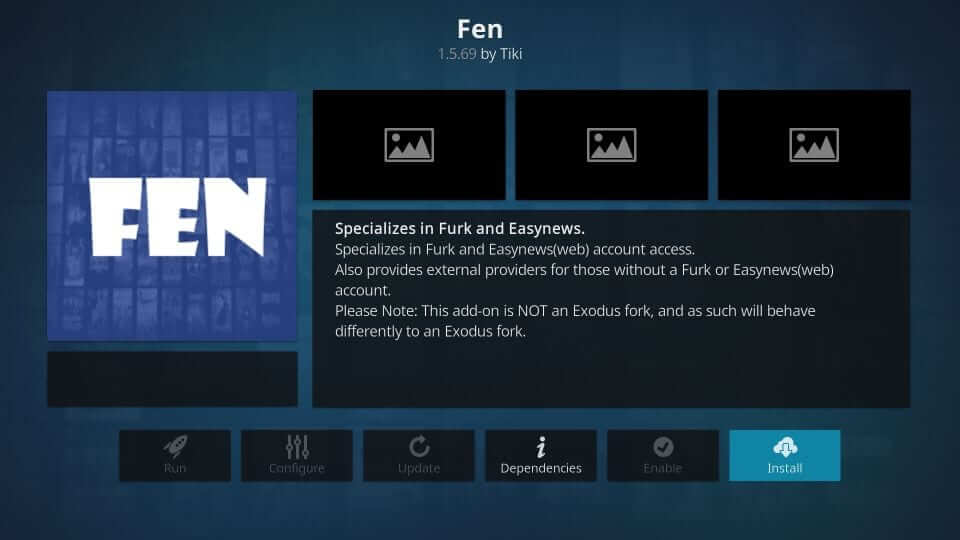
16. You will find the Fen Kodi addon listed on the screen, click on it.

17. Then, on the next screen click on Install.
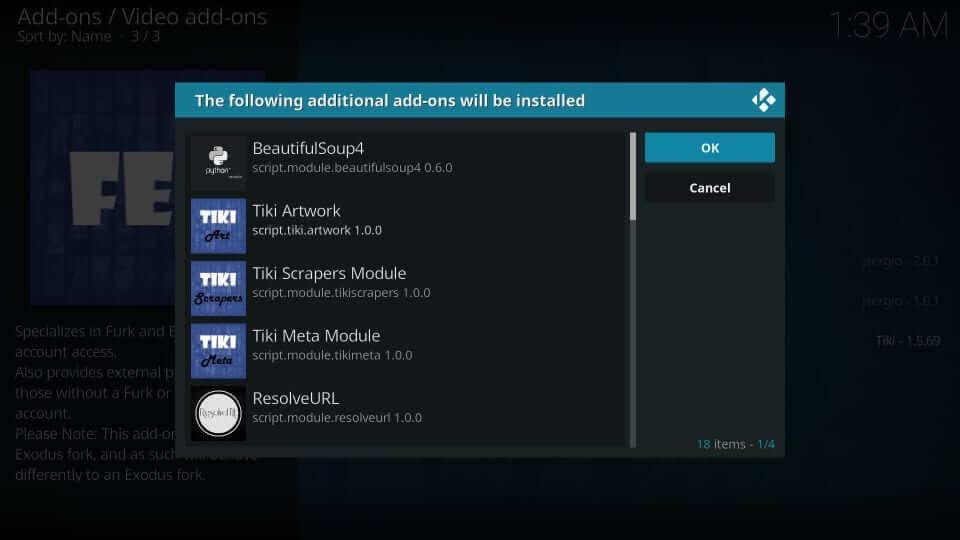
18. If you are using Kodi 18 Leia, you will get a pop-up window. In that click on OK.
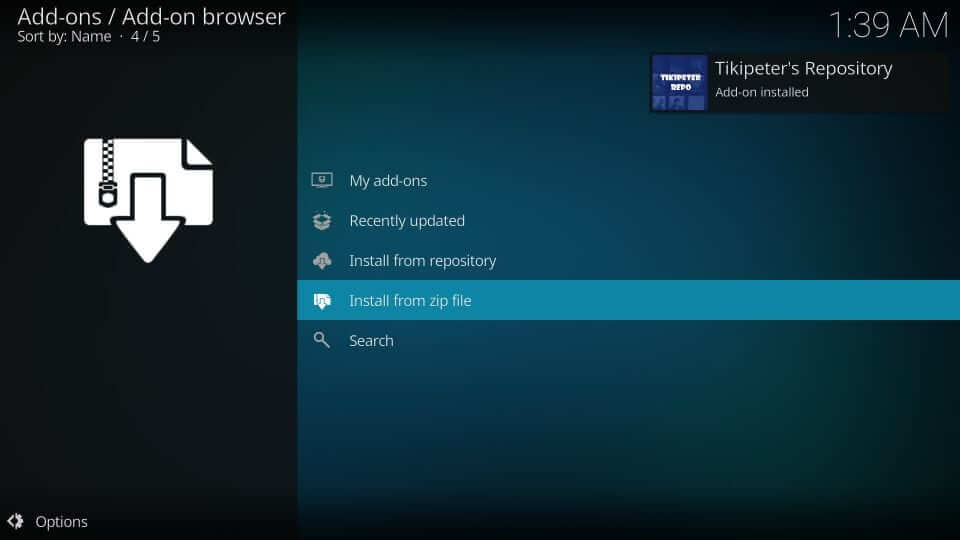
19. Now Fen addon will be installed. Once installed you will get a notification saying Fen add-on installed.
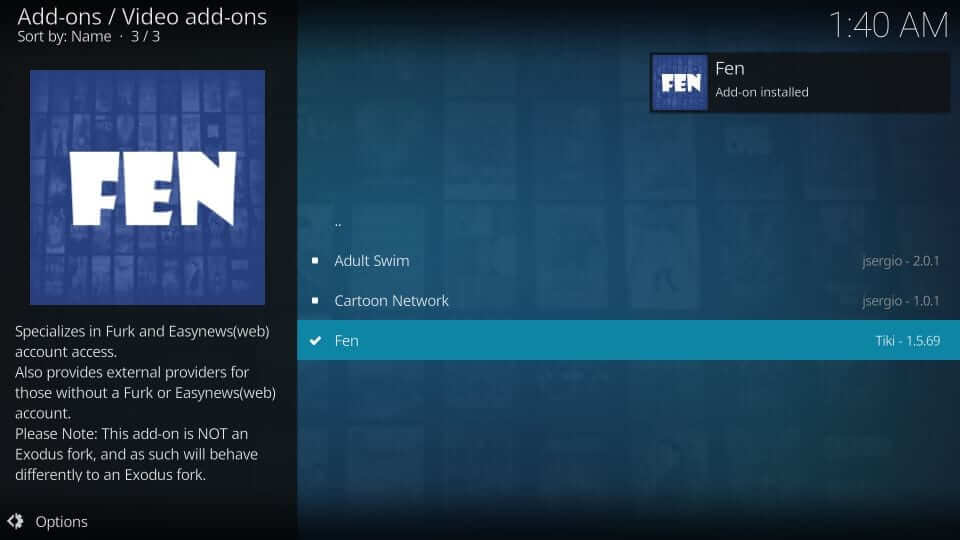
20. Then, you can access it by going back to the main screen > Settings > Add-ons. There you will find the installed Fen addon.
Wrapping Up
Fen addon is not an official addon for Kodi. However, using a VPN for Kodi will keep you secured while streaming on the Fen addon. A VPN for Kodi will bypass Government surveillance, ISP throttling, and geo-restrictions on popular Add-ons. Hope this article helped you install the Fen Kodi addon without mistake. If you have any queries comment below.